There are currently newer versions of GIMP available. These instructions will not be the same for some of these newer versions. If you need more help with a more recent version please email me...be sure to include where you got stumped and the version you are using.
**If you are a MAC user and are using GIMP 2.4.4 for the MAC these instructions should work for you as well..please comment with suggestions/corrections if you have any. I don't have a MAC.** :)
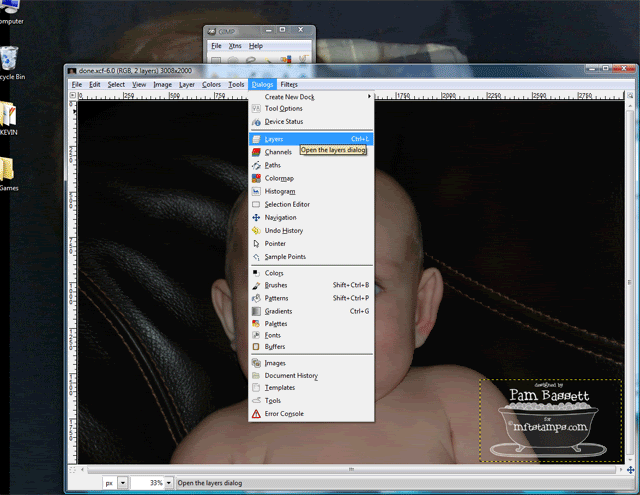
Click on the screenshot animations for a closer look.
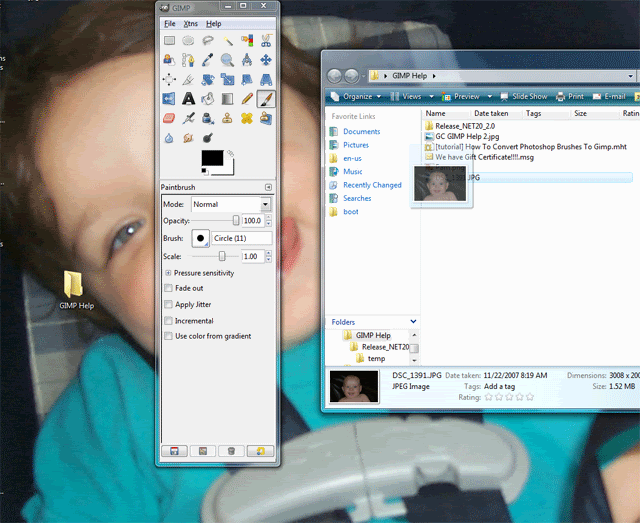
- First you will need to download and unzip your watermark files. If you need assistance with this please send me email. Be sure to remember where you saved your attachments. For my example my picture AND watermark are both in a folder called GIMP Help I made on my Desktop.

- Open your photograph in GIMP. You can Click File, then Open, locate your photo, click your picture once to select it and then click Open OR you can just simply drag your picture onto GIMP. To drag click and hold the mouse button on the file while. Move the mouse and you will see the file moving with it, drag your mouse over GIMP and release the mouse button.
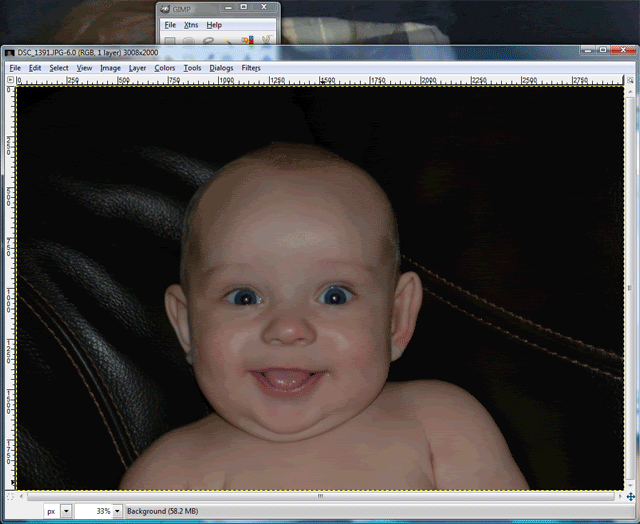
- That being said I do the same thing with the watermark file. Simply drag it onto the picture like so. I had to click the window on the side to bring it to the front.
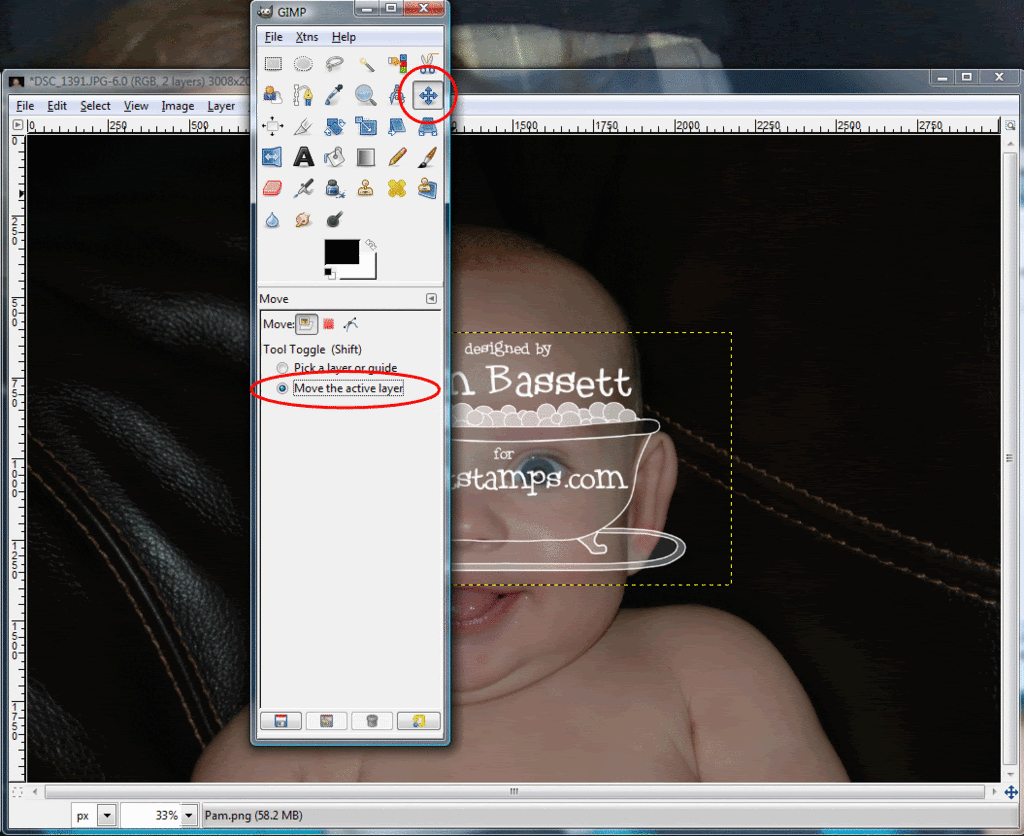
- Now to place the watermark click on the Move Tool on the GIMP toolbar. You may have to click the top of the toolbar to bring it to the front. Click Move active layer to ensure you move the watermark and not the photograph.
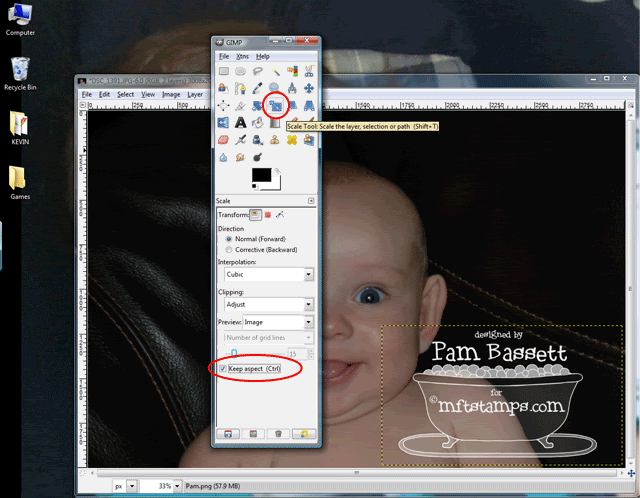
- To resize the Watermark select the Scale Tool from the GIMP Toolbar. Select Keep aspect so your watermark does not lose its proportions while resizing.
- The watermark is made white at 100% opacity so that you can completely control it based on your photo. To change the opacity you will need to select the watermark layer and move the Opacity slider.
- Click File, Save as shown above. If you want to save a COPY click on Save As instead. Be sure to give it a NEW name. You're done!

1 comment:
Graceful written content on this blog is really useful for everyone same as I got to know. Difficult to locate relevant and useful informative blog as I found this one to get more knowledge but this is really a nice one. digital watermarking software
Post a Comment