Monday, February 25, 2013

Using Your PNG Watermark on PicMonkey

Here are some quick and dirty screenshots to help you use your PNG Watermark on the free online photo editing service called PicMonkey.


Thursday, November 20, 2008

Installing a Template on Blogger - Method 1

This method tells you how to install a Blogger template and keep your widgets by way of inserting the widget code into the new template. If there are any errors or suggestions you have about this article please leave a comment.

**the code used here was taken from the Blogger Minima template, your code MAY vary...email me if you have a question**


So you found a cool template for Blogger or you just want to change to an existing Blogger template. Have switched templates before and lost your widgets? How would you like to install a template or two WITHOUT LOSING YOUR WIDGETS (or gadgets as they are now called)???? OK...I KNOW you do!!!!!!!!!! I've heard SO MANY people tell me about their horror stories so here's a short and sweet how to! Don't be a widget-less victim!!!!

First of all make sure you BACKUP your template!!!!! If you mess it up you can always upload...well you can't upload your widgets us you can get the rest back. To do this:
  • Click on Customize from your blog.
  • Click Edit HTML
  • Clock on Download Full Template.
  • Choose the desired location and click save. The actual save process will vary depending on your operating system and web browser.
If at ANY POINT during this process you get the..."The following widgets are about to be deleted" message make sure you HIT CANCEL!!!! DO NOT just give up and deal with it...email me!!!

OK so now the "FUN" part! If you get the hang of this you can change your blog as often as you want!!!!

Since you are already in the Edit HTML area (because you should have backed-up) lets copy the widget code we will need to put into the new template.
  • You will need to scroll down in the Edit HTML scroll box to find to the widget code...here is a screen shot to help show you the code. Notice Expand Widget Template is not checked and I scrolled almost all the way down to find the code I needed.


I have selected the code I need. You're code will differ depending on how many widgets you have on your sidebars and the names and types of them. You want ALL the lines that resemble the ones I've selected.
  • To copy the code you first need to select it. Simply click the mouse at the END of the last line you need. While holding the mouse button drag the mouse to the front of the first line of code you need.
  • Now right click your mouse on the selected code and click Copy.


Before we move on I suggest opening a new window so that you can leave your existing blog open. You will need it again soon.


The next step will be to create a new blog. I know your saying..."WHAT? But I don't need a NEW blog". Don't worry we are only using it for a while. Doing this will enable us to insert your widgets WITHOUT Expanding the Widget Template. Trust me, you want that!!!

I suggest opening a new window so that you can leave your existing blog open. You will need it again soon.

To create a new blog...(just in case someone helped you the first time):
    • From your dashboard click on Create a Blog
    • Choose a name
    • Choose a template
    • You're done!
Now upload the spiffy new template you found or even select the an existing Blogger template.

To choose a Blogger template
    • Click on Pick New Template
    • Choose one and click Save
To upload a new template
    • Click on Edit HTML
    • Next to "Upload a template from a file on your hard drive" click on Browse
    • Choose your new template from your computer.
    • Click on Upload
    • Click on Save Template
One last thing and then we can insert the widget code for your actual blog.
  • Delete any widgets you may have! To do this:
    • Click on Layout
    • Click Edit and then Remove on each widget.
Again with the scrolling! Scroll down to the sidebar widget area...it will look something like this:


You need to paste the widget code between ...preferred=yes/> and the div under that line like this:

If you don't know how to paste here is how:
    • First put your cursor right behind ...preferred=yes/>, to do this Click the mouse right behind it.
    • Press the Enter key on the keyboard to drop down a line.
    • Right click the mouse on your new line and click on Paste. If the code does not appear you lost it from the clipboard. Just go back to your current blog and copy the widget code again. Try pasting it now.
Don't worry about the space in front of each line...it's only for looks. It doesn't affect the functionality of the code.

Finally copy ALL the code from the new template:
  • Right click anywhere in the Edit HTML scroll box
  • Click on Select All and then click Copy
Now go back to your current blog so you can paste:
  • Right click anywhere in the Edit HTML scroll box and then click on Paste.
  • Click on Preview. If you get any errors click on Cancel! If everything looks good close the preview and click on Save Template.

If you can't get it you can try the process again or try Method 2. You will be learning a little about Bloggers code! Or you can email me, I'll do it FOR YOU for a small fee.

Installing a Blogger Template - Method 2

This method tells you how to install a Blogger template and keep your widgets by way of inserting the CSS into the new template. This method makes you learn a bit more about code. If there are any errors or suggestions you have about this article please leave comment.

**examples of code are taken from a Blogger Minima Template**

Before we talk I must say…ALWAYS BACKUP BEFORE YOU DO ANYTHING!!!! Make sure you use the backup button and not just copy/paste the HTML. You can EASILY upload the old template if you have to.

In the Edit HTML window you will see CSS and HTML

Really all you need to do is copy the CSS ONLY from the new template into the HTML of your current blog. Although alot of time you WILL need to edit some HTML if the template design as well.

Here are some screen shots to help explain:

So here is the top…scroll and you will start seeing…


…CSS, this is what CSS looks like:


Here is the end…copy everything above /**Page structure…**/. Notice I don’t need widgets expanded…that only makes the HTML longer and I’m showing you the scroll bar on the side to give you an idea of just how far down you will be going.


Now once you copy and paste, hit PREVIEW!!!! If you get errors you can solve them before publishing. If you just can't seem to figure it out simply leave the page without saving and it's like you never touched it!!

It’s possible that you will need to re-order the HTML depending on the difference between the current template and the new one.

Here is a bit of explanation to help you modify the HTML:

Let's look at the HTML without widgets:


Here is a drawing to represent what this code means.


The div tags are used to create the "boxes" below. Here is another drawing to help explain.


Obviously there is much more to positioning and such bout for these purposes you just need to understand the layout. Here is a link to a great article explaining more about the HTML.

Now what you need to do is compare your new template to your current one. There are many things you need to look at: are div's in the same order, is there an additional sidebar, is a div outside of another div on the new template but contained with the old, and so on. When looking at the code see that some div's are closed immediately like this:


When rearranging code you will find this knowledge very helpful. If yo need anything else or have ways I can improve this article please let me know!


If you can't get it you can try the process again or try Method 1. You will be learning a little about Bloggers code! Or you can email me, I'll do it FOR YOU for a small fee.

Tuesday, July 22, 2008

Installing and Using Your Custom iWatermark

These instructions were written using iWatermark Version 3.1.3 for Windows.

For these instructions I have the photo I want to watermark and the watermark bundle on my desktop.
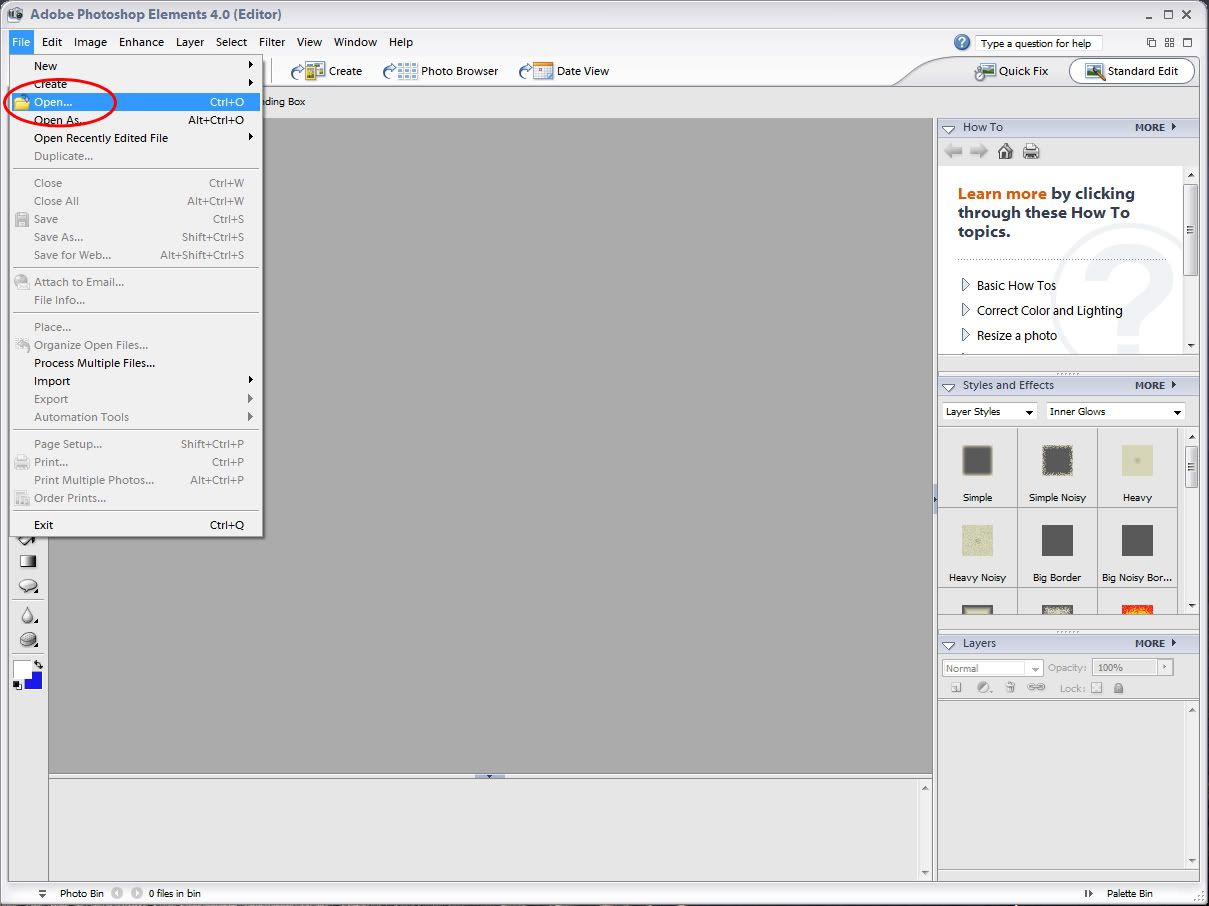
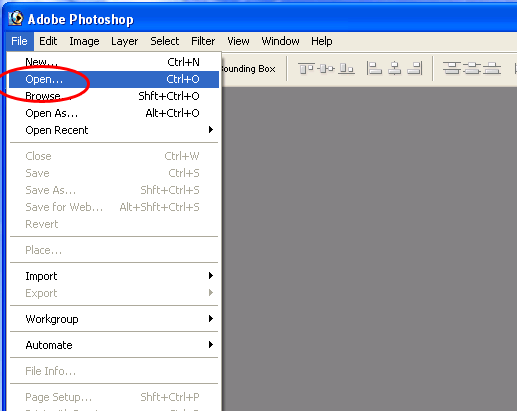
Open iWatermark.
You will see Input and Output boxes:

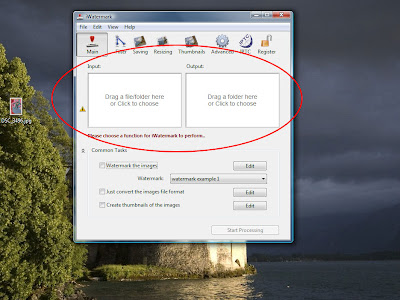
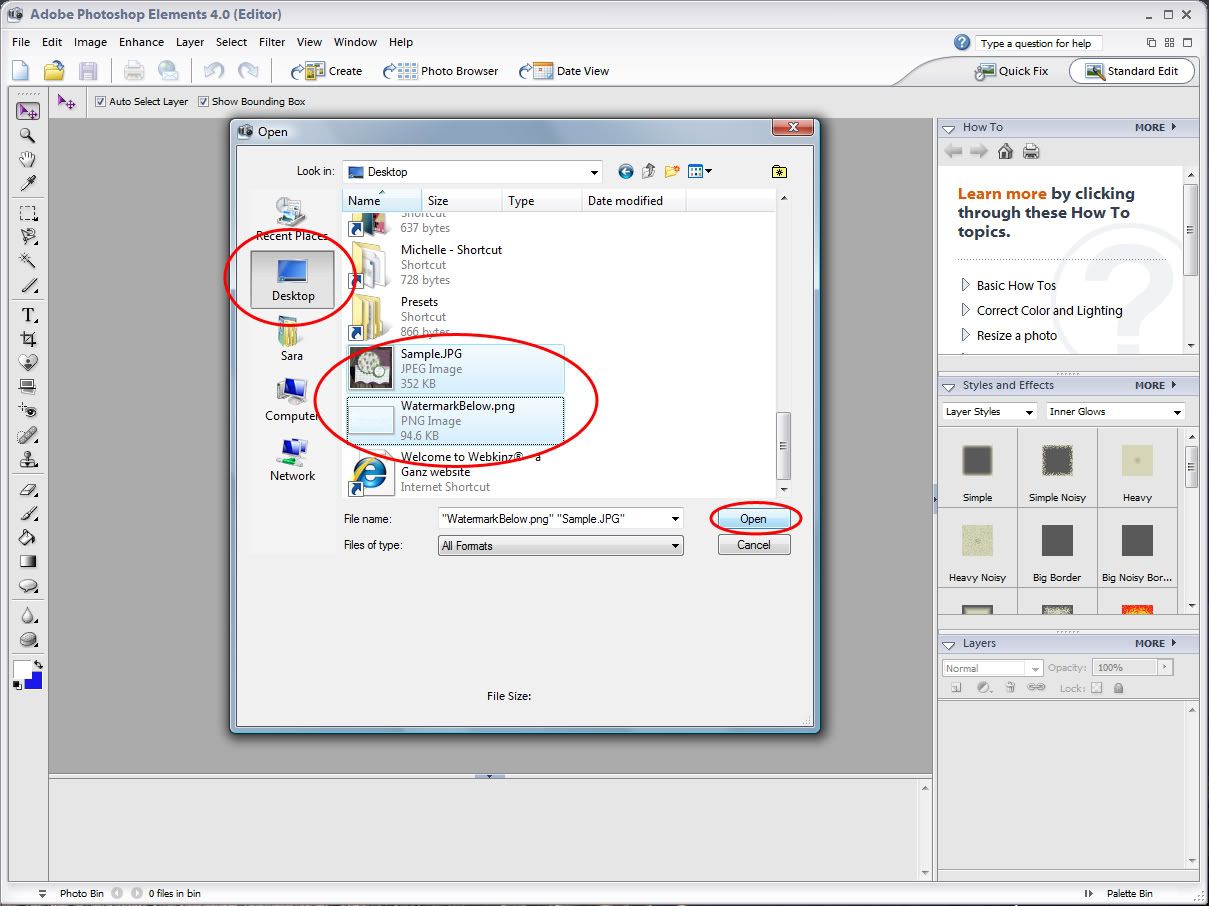
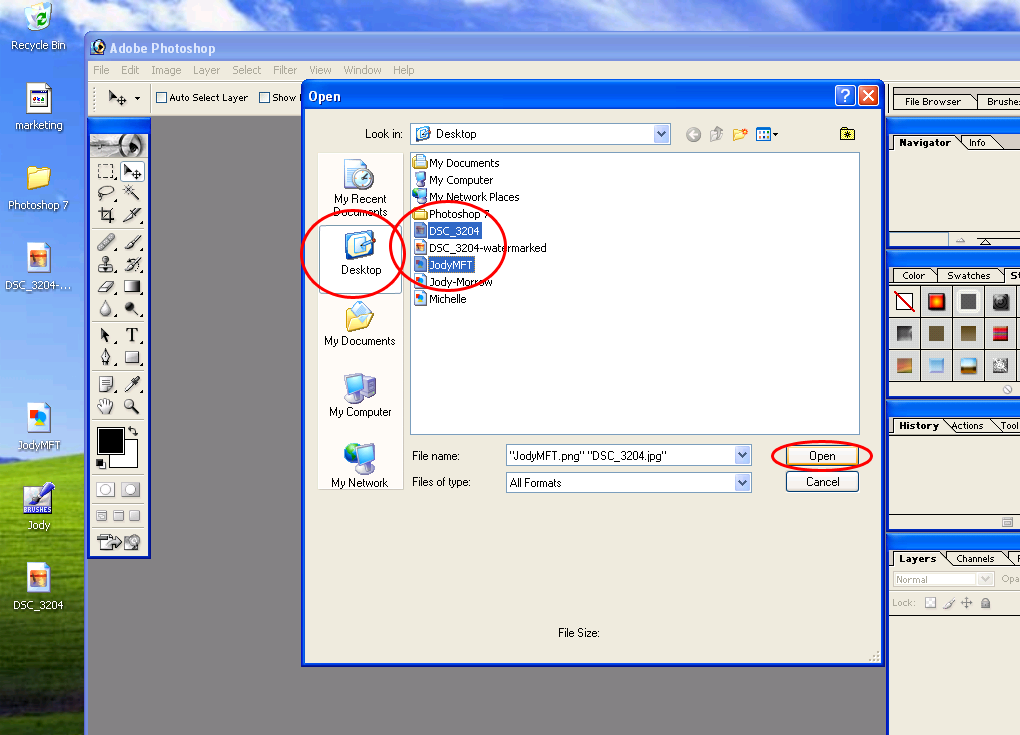
The Input box is the photo you want to watermark. Here you can either drag the the desired image or even a whole folder of images onto the box or you can click on the square to pull up the open dialog and then click to choose your location. The Output box is where you want the file to be saved when your finished.

You will see below I am watermarking one image that I dragged onto the Input box and I chose to Output the completed watermarked photo to the desktop:

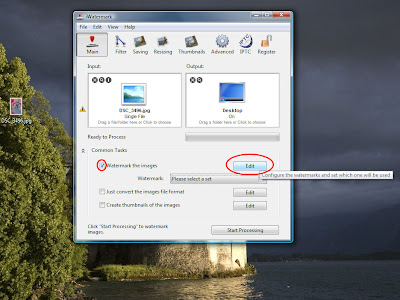
Now to install your custom iWatermark bundle! Click on checkbox next to Watermark the images and click Edit as shown above.

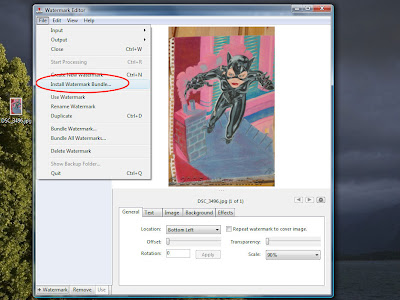
Click on File>Install Watermark Bundle:

Now the watermark is installed, but wait, I found a minor bug in iWatermark so do this too.

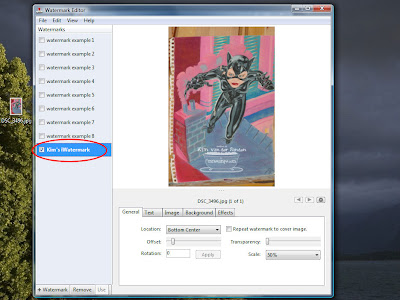
Select the new watermark by clicking the checkbox and selecting the name. It must be highlighted AND checked:


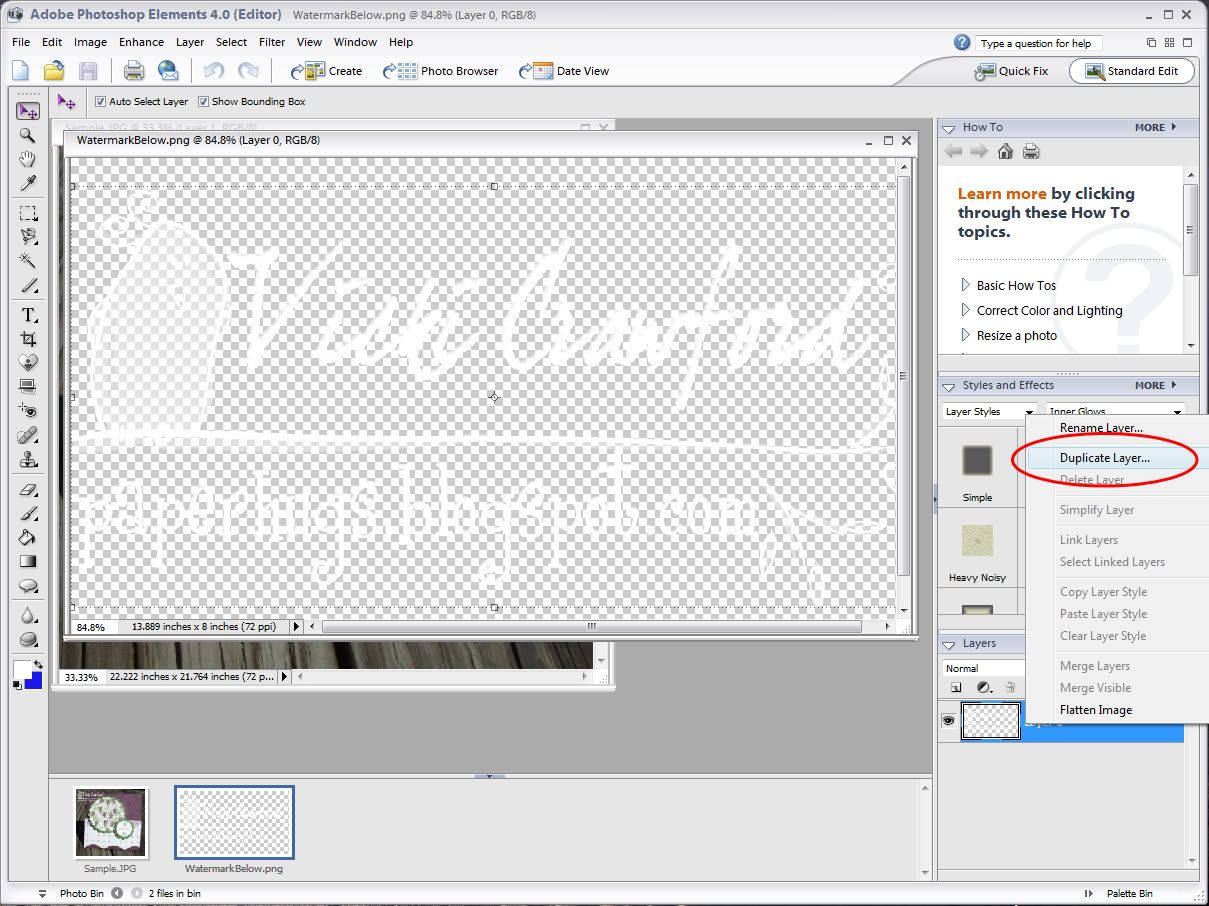
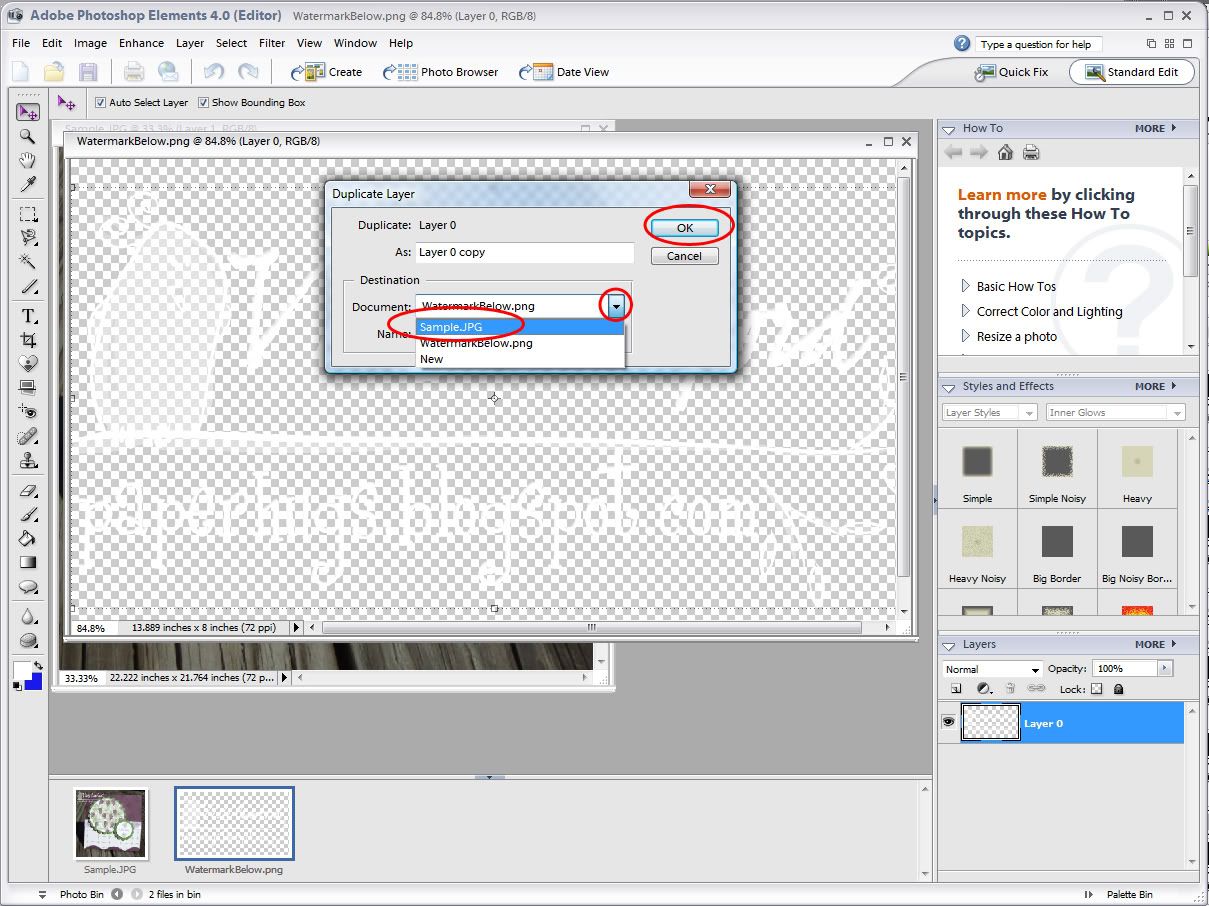
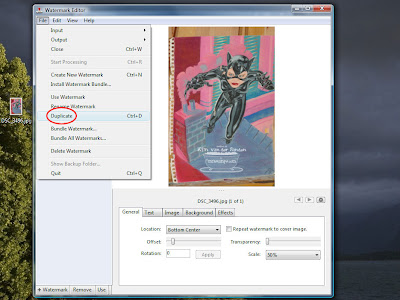
Click File>Duplicate:

Now you need to select this one instead.

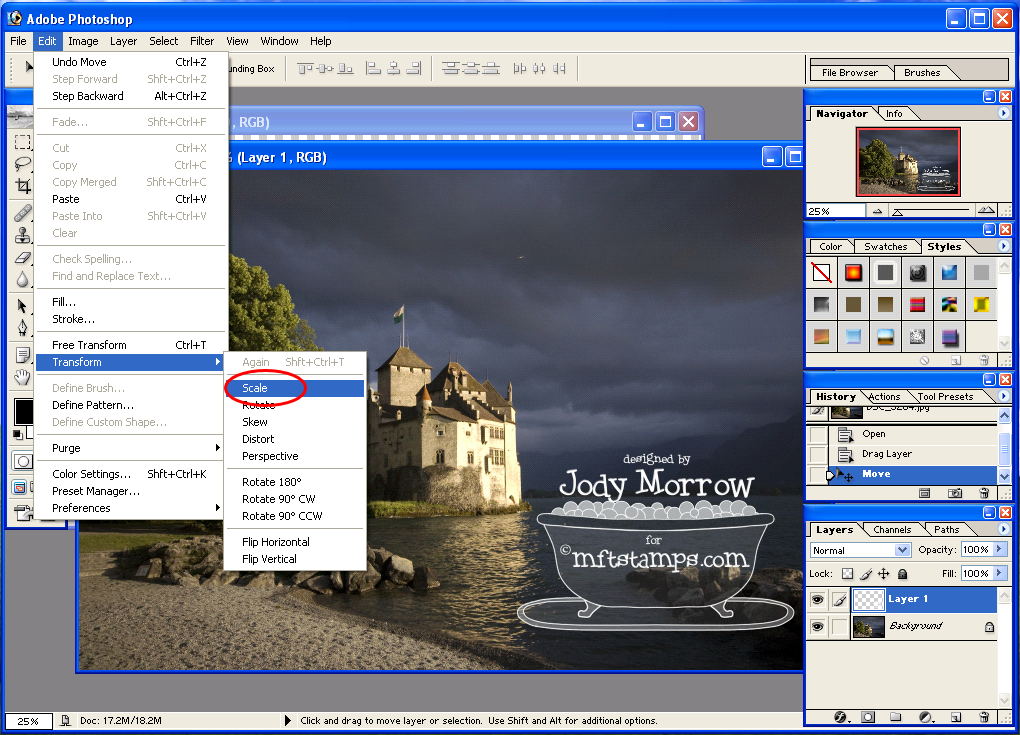
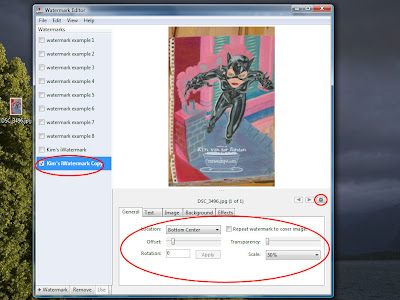
On to the next step! You may need to adjust some of the below circled settings depending on you image. Location, Offset, Transparency and Scale are probably what you will use most often. You will not need to use the other settings on the additional tabs at all. Once you have it where you want it click on the little gear button show below to save your watermarked photo:


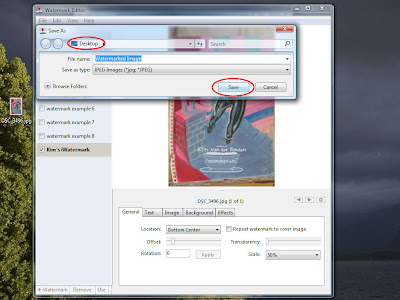
You can also save from the previous screen but I'll talk about that later. Here I am saving the image to the desktop, you can give it any name you'd like.


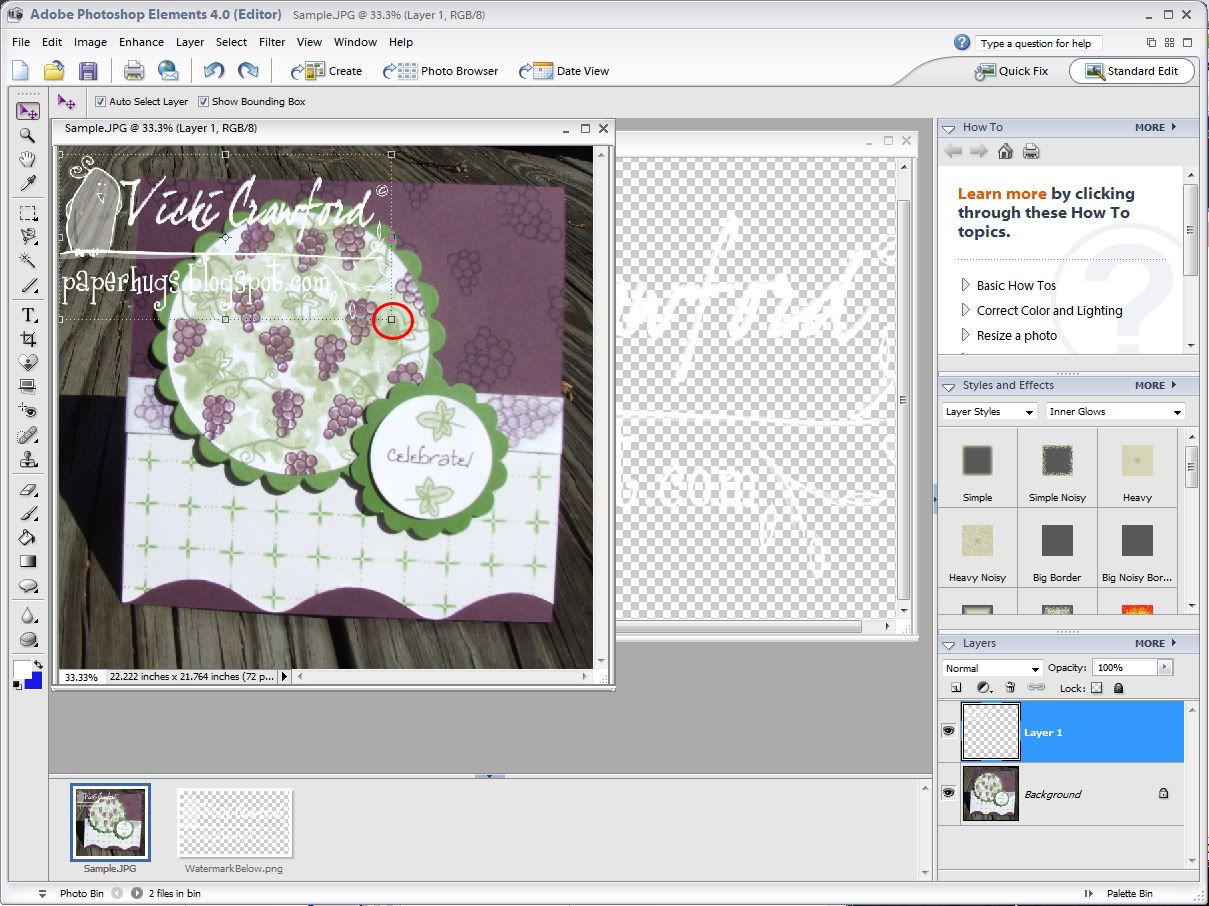
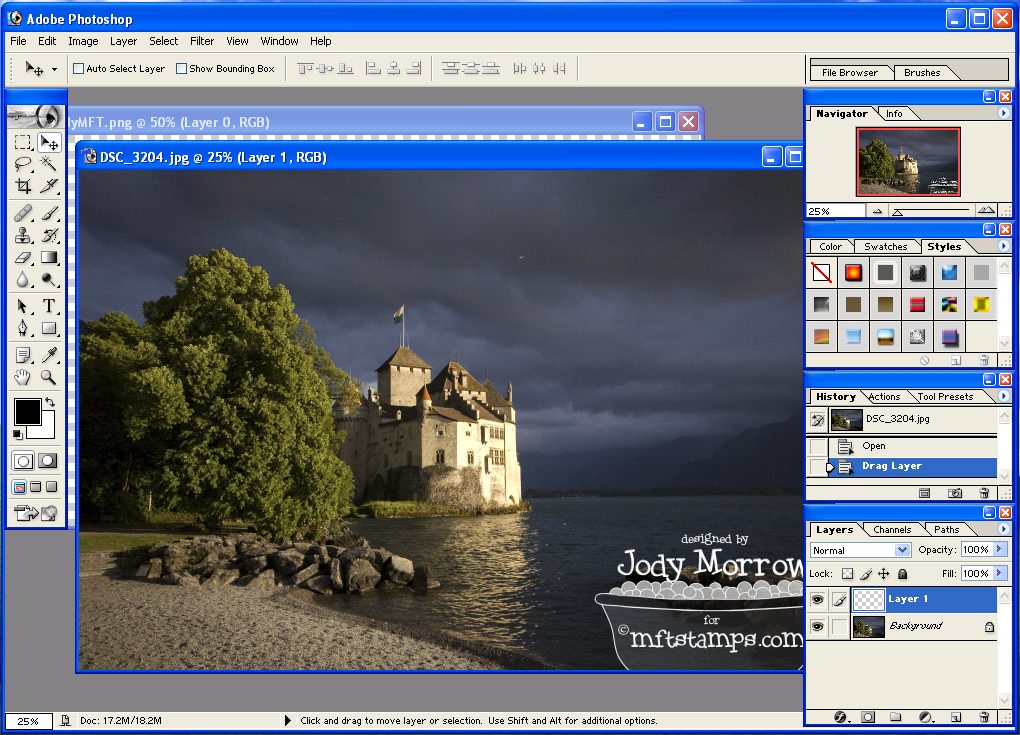
And your finished! Here is the photo watermarked:


Now the next time you open iWatermark all your settings will be saved, simply drag your next photo or folder of photos on the Input box and click on Start Processing at the bottom!

You can also click Edit as we did before if you want to change the watermark placement. If you do you will see that the original installed watermark is gone. Yes that is the bug I found...so that's why we duplicated and worked with that copied dude instead!!!!!

Tuesday, July 8, 2008

Using your PNG Watermark in Photoshop Elements

These instructions were written using Photoshop Elements 4. It should be similar to other versions of Photoshop Elements.
    First open your photo and your watermark in Photoshop Elements. I have both on my desktop.
  • File>Open:

  • Click Desktop (or the location where you can find your watermark and photo).
  • Click to select the first file (my image is named Sample.jpg), push and hold the Ctrl key while clicking to select the second file (my image is named WatermarkBelow.png).
    Click on Open.

    You will see both images. Here the photo is in back and the watermark is on top. If you don't see both click the Cascade button in the upper right corner.
  • Now simply drag the layer that has the watermark from the watermark file to the photo. To do this click on the layer, keep the mouse button pressed while dragging it onto your photo.


    • If you have trouble you can also right click on the layer, click on Duplicate Layer:

    • Select the appropriate file (again my photo is named Sample.jpg) and then click OK:


  • Now you will see the watermark. Make sure you have the watermark layer selected as well as the Move Tool on the left toolbar.


  • To resize the watermark you simply move the mouse over the corner, the cursor will change to a double diagonal arrow. Click and hold the mouse button ALSO while holding in the shift key. Move the mouse in and out. You will see the watermark resizing. Pressing the shift key as you do this ensures the proportions stay constrained (doesn't become elongated or squinched).

    Once you get the desired size hit enter on the keyboard to commit your changes.

  • You can also move it by dragging it to where you want it. Again to do press and hold mouse button while moving the mouse.


    Now Save it, in order to keep your original UNMARKED photo you will need to click Save As.
  • File>Save As>

  • Choose the location, here I chose Desktop. The name will default to the original file name with the word "copy" after it, change this to whatever you want. Select JPEG under File Type and click Save.


  • The default settings are fine so click OK again and you have your new watermarked photo!

Wednesday, June 25, 2008

Using your PNG Watermark in Photoshop 7

These instructions are similar but not exactly what you would do in Photoshop Elements. Send me email if you need help using Photoshop Elements! Click on images to "zoom" when applicable.

First you need to open Photoshop and open your photo AND your watermark in Photoshop. I have both on the desktop in my example.

Click on File> Open>


Click Desktop.
then click on both the photo and the watermark files. To select them both at the same time press and hold the Ctrl key on the keyboard wile clicking to select.
Click Open.


Now that the files are open make sure the Selection tool is selected.
The default location of the toolbar is the right. If it's not showing anywhere click on Window at the top of the program window and click on Tools.


Now you will see both files open in Photoshop...simply drag the watermark from the watermark file onto the photo file:

The watermark will move a bit it's ok. Just keep dragging...to drag click on the watermark and keep mouse button pressed whiule moving the mouse. If you don't see both files as shown above click on Window>Documents>Tile.

The watermark is there. Just click on it and drag to position it.
To resize click on Edit>Transform>Scale.


Press and hold the Shift key to constrain proportions while you drag the mouse to resize.


Hit enter on the keyboard when you have it the way you want it.


Now save your watermarked file. In order to keep your image in the original state as well you need to perform as Save As:


Give it a different name and save as jpeg:


The default settings are fine, click OK.


Here is the watermarked picture!


Let me know if my directions are unclear or if you need further help!

Tuesday, June 24, 2008

Adjusting Your Watermark Color with GIMP

There are currently newer versions of GIMP available. These instructions will not be the same for some of these newer versions. If you need more help with a more recent version please email me...be sure to include where you got stumped and the version you are using.

If you need help getting your PNG watermark on your picture first please refer to this article.

So you've got your photo open and your watermark layer in place. There are two ways you can do this. The VERY quick but not as precise or versatile way would be to change the blending mode.

Make sure your watermark layer is selected. Click on the Mode drop down arrow:

Select Subtract:

You can scroll through the modes to see what you like best as well. The results will vary depending on your image.

OR YOU CAN...Colorize

Again make sure your watermark layer is selected. Click on Color as shown below:

The Colorize dialog will appear. You will adjust the lightness lower and the saturation higher...no doubt. The Hue is where the color choices come in. Adjusting the lightness and saturation will differ depending on hue as well. So slide those babies around and play a bit. You'll see what I mean! I wanted to achieve a blue color below:

Click OK and you've got color!

You'll need to save after you've made changes. If you need help with that please refer to this article.

Feel free to email if you have a question!