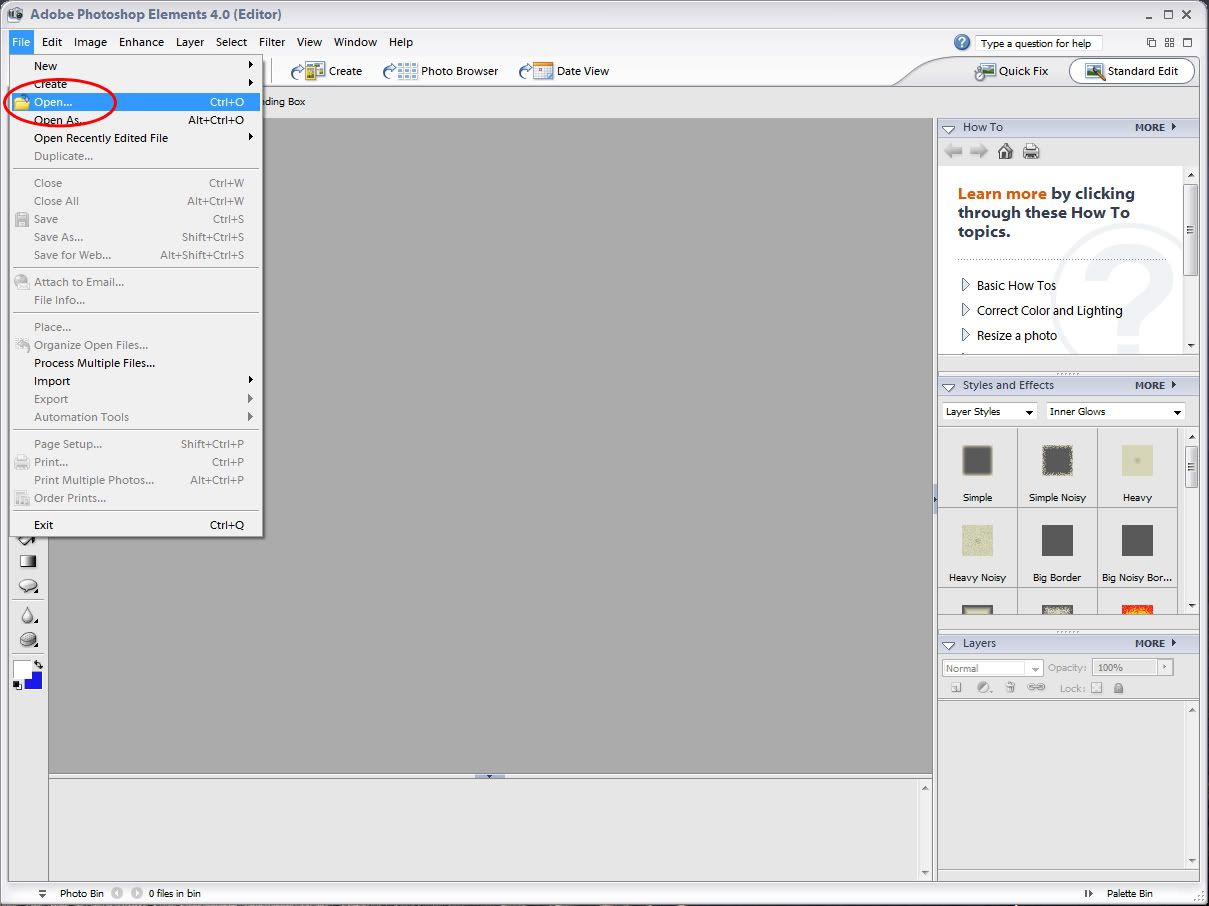
- First open your photo and your watermark in Photoshop Elements. I have both on my desktop.
- File>Open:
- Click Desktop (or the location where you can find your watermark and photo).
- Click to select the first file (my image is named Sample.jpg), push and hold the Ctrl key while clicking to select the second file (my image is named WatermarkBelow.png).
Click on Open.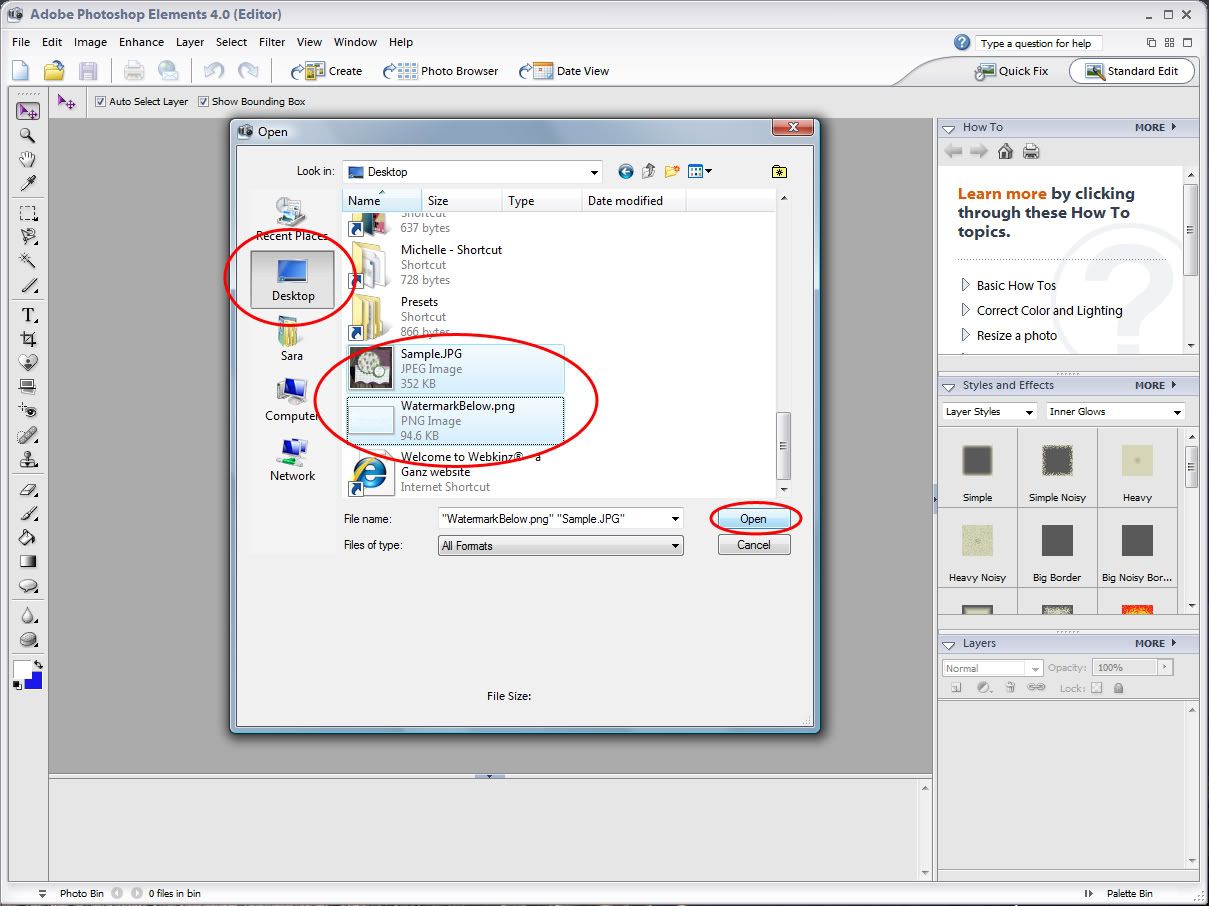
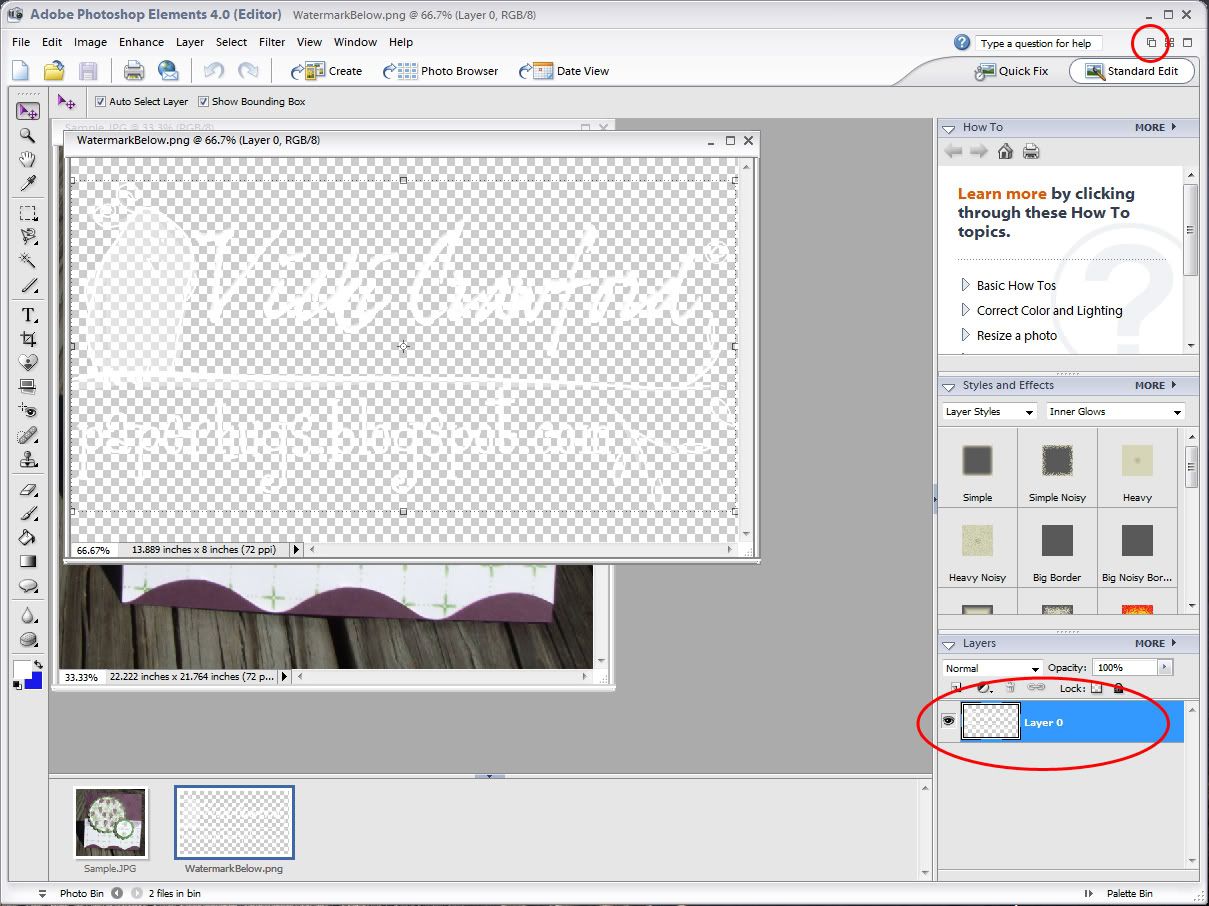
You will see both images. Here the photo is in back and the watermark is on top. If you don't see both click the Cascade button in the upper right corner. - Now simply drag the layer that has the watermark from the watermark file to the photo. To do this click on the layer, keep the mouse button pressed while dragging it onto your photo.
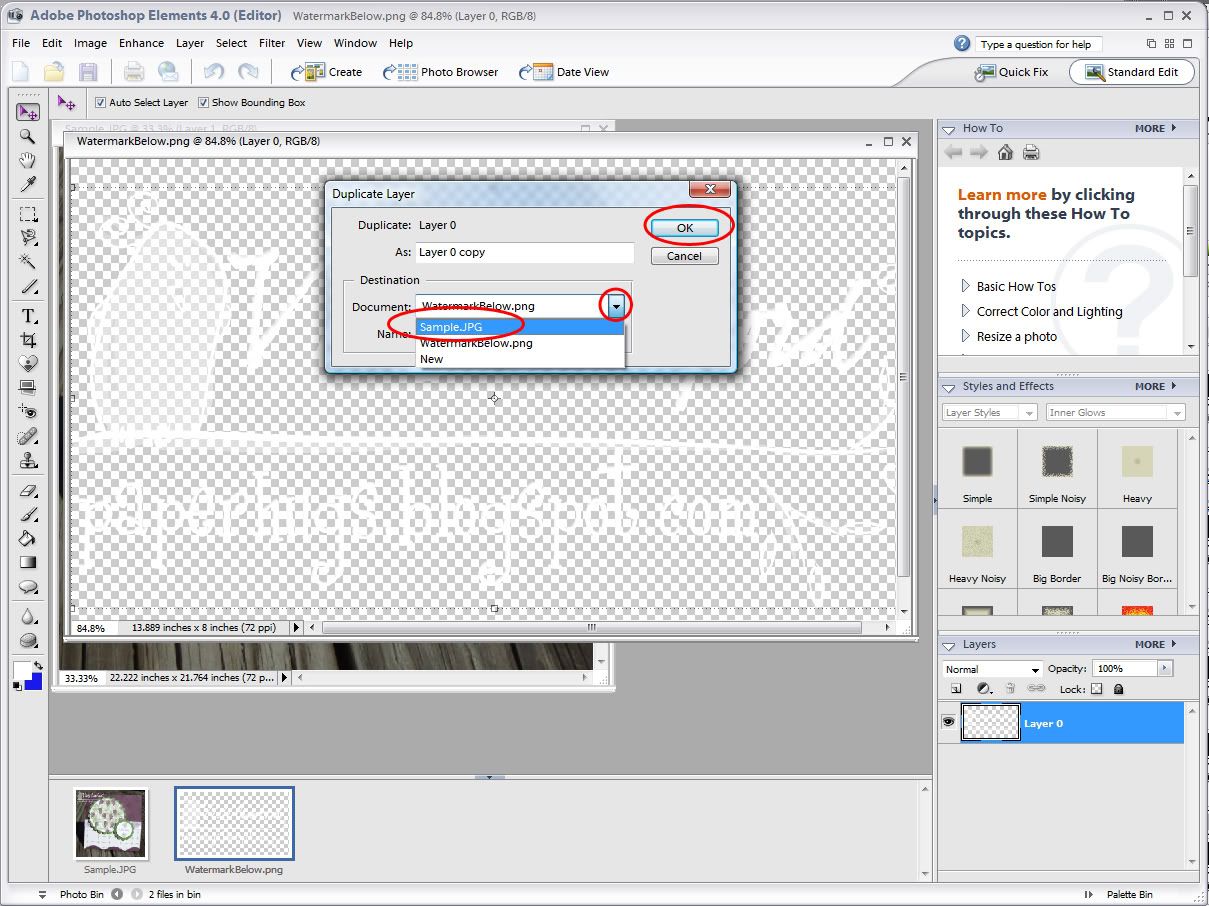
- If you have trouble you can also right click on the layer, click on Duplicate Layer:
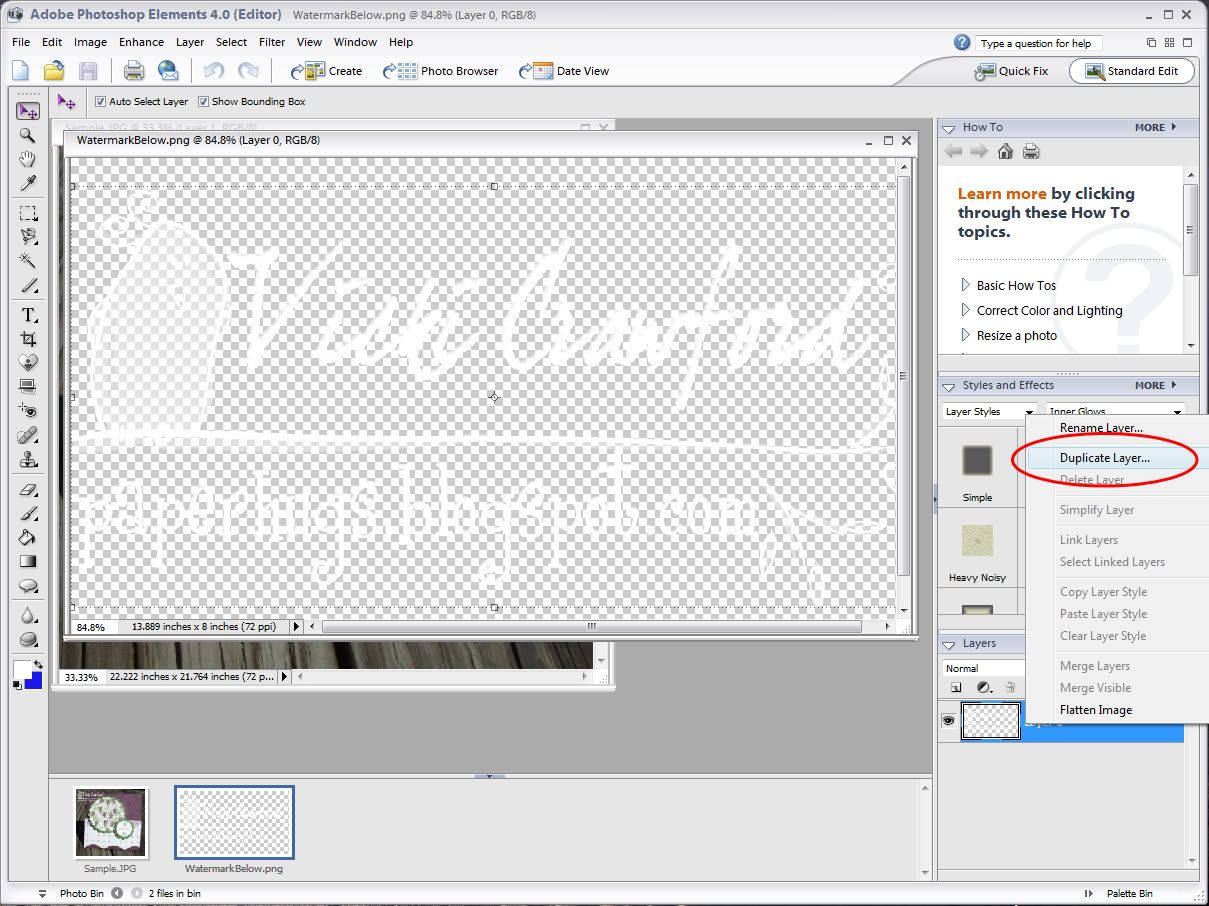
- Select the appropriate file (again my photo is named Sample.jpg) and then click OK:
- If you have trouble you can also right click on the layer, click on Duplicate Layer:
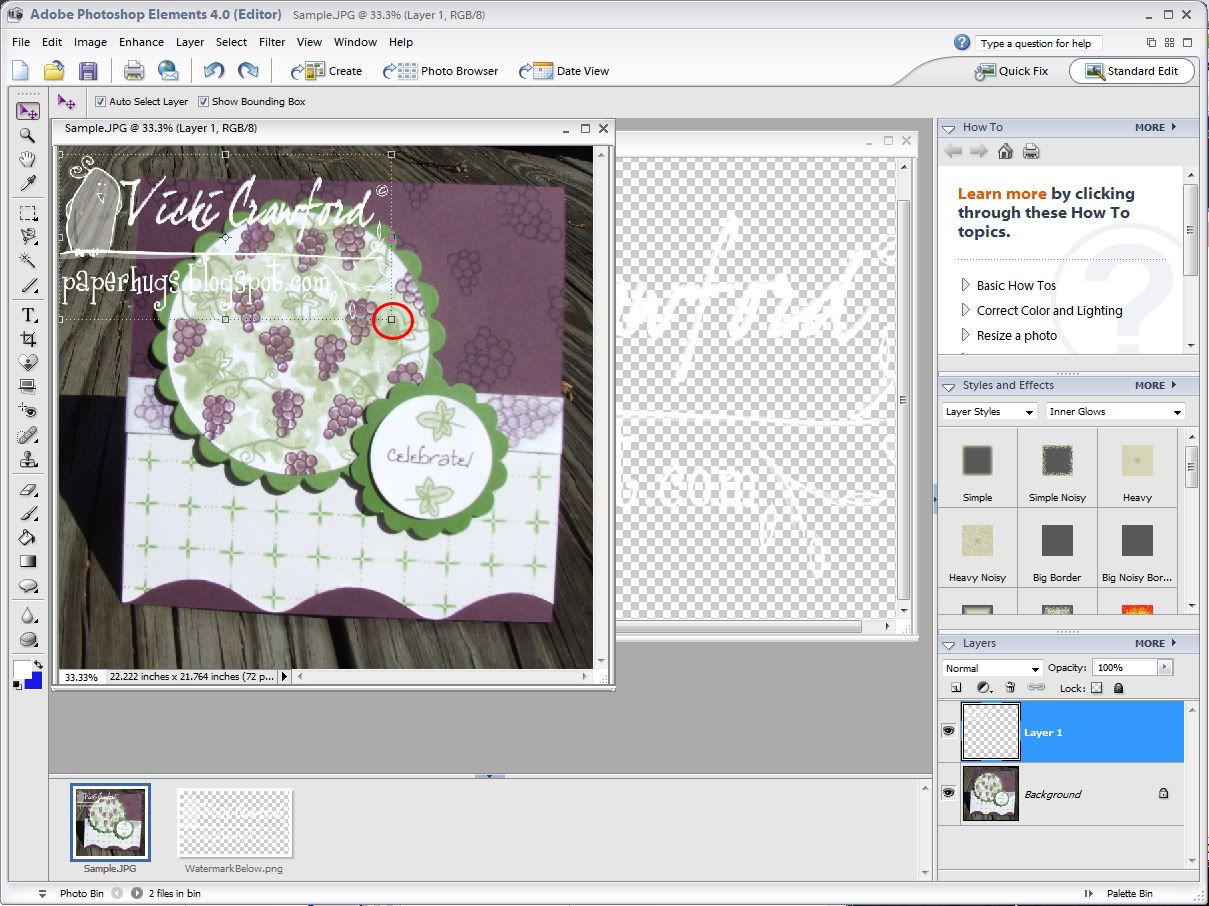
- Now you will see the watermark. Make sure you have the watermark layer selected as well as the Move Tool on the left toolbar.

- To resize the watermark you simply move the mouse over the corner, the cursor will change to a double diagonal arrow. Click and hold the mouse button ALSO while holding in the shift key. Move the mouse in and out. You will see the watermark resizing. Pressing the shift key as you do this ensures the proportions stay constrained (doesn't become elongated or squinched).
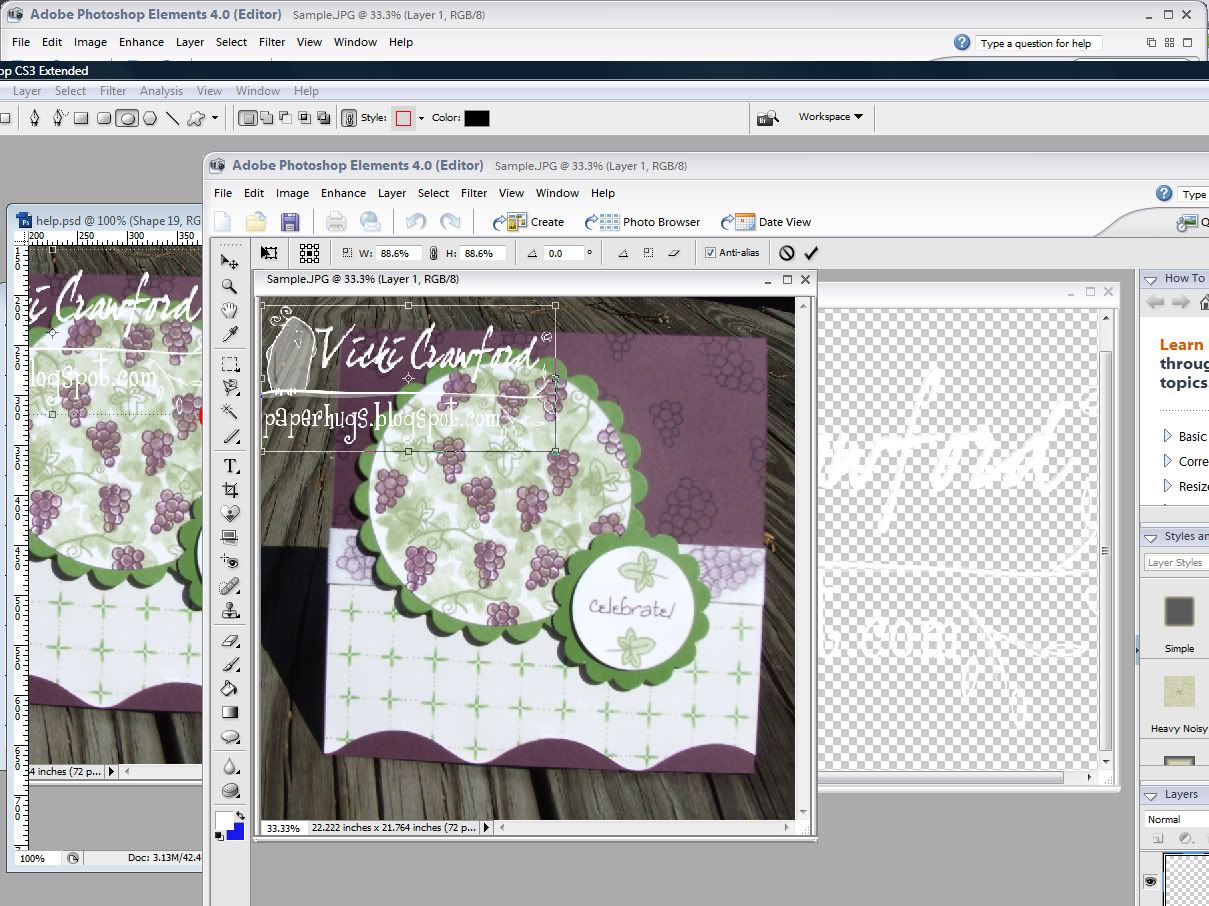
Once you get the desired size hit enter on the keyboard to commit your changes. - You can also move it by dragging it to where you want it. Again to do press and hold mouse button while moving the mouse.
Now Save it, in order to keep your original UNMARKED photo you will need to click Save As. - File>Save As>
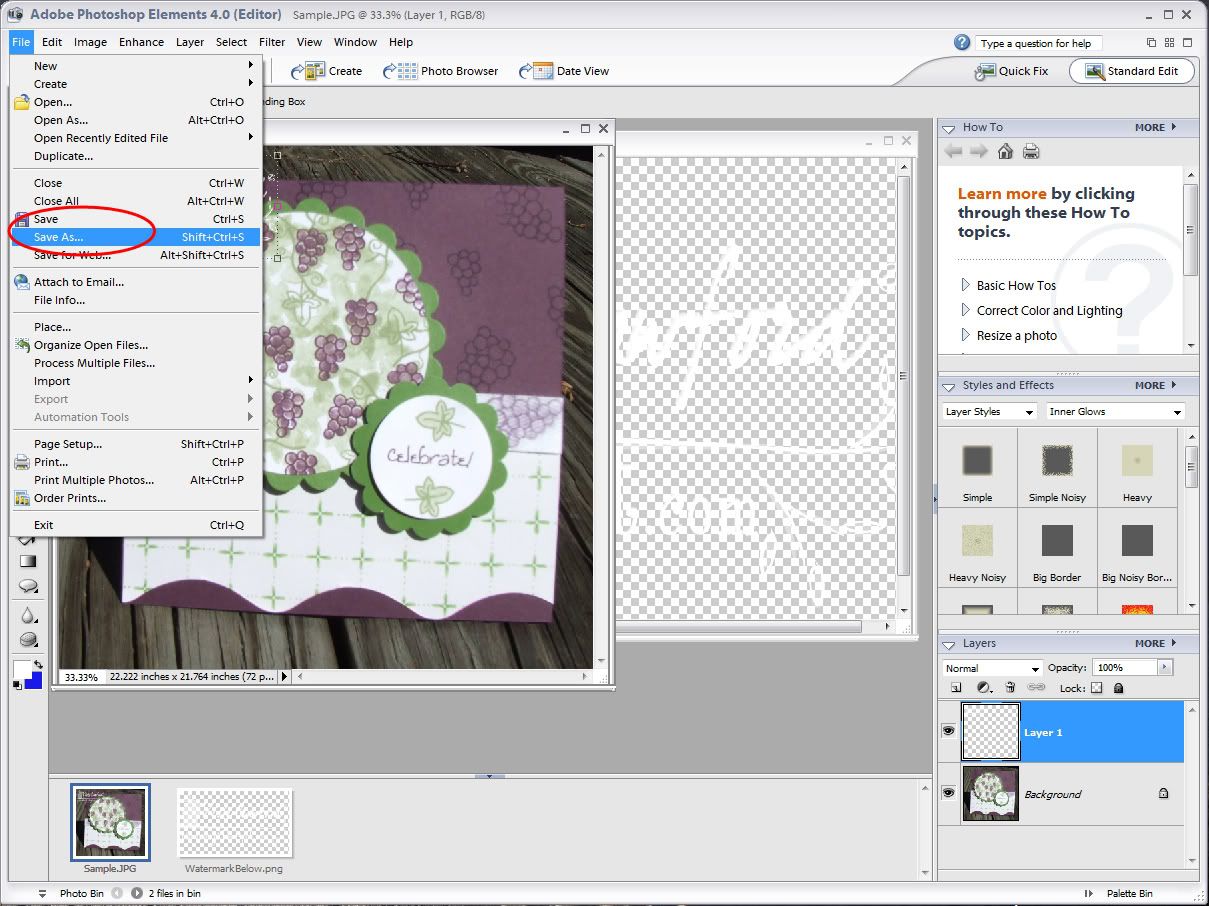
- Choose the location, here I chose Desktop. The name will default to the original file name with the word "copy" after it, change this to whatever you want. Select JPEG under File Type and click Save.

- The default settings are fine so click OK again and you have your new watermarked photo!

Tuesday, July 8, 2008
Using your PNG Watermark in Photoshop Elements
These instructions were written using Photoshop Elements 4. It should be similar to other versions of Photoshop Elements.

Subscribe to:
Post Comments (Atom)
No comments:
Post a Comment